Simulator Project VIDEO ADDED |
Post Reply 
|
Page <1 89101112 18> |
| Author | ||
TomA320 
Chief Pilot 

Joined: 02 Apr 2008 Location: Perth Scotland Points: 10235 |
 Post Options Post Options
") Thanks(0) Thanks(0)
 Quote Reply Quote Reply
 Posted: 01 Jun 2011 at 4:35pm Posted: 01 Jun 2011 at 4:35pm |
|
|
Slopey, the cable for my Elite hardware seems to fit, I'm going to try plugging it into the expansion card, can you just confirm it won't damage my lead for my yoke?
Thanks
|
||
 |
||
|
TomA320
Chief Pilot
Joined: 02 Apr 2008 Location: Perth Scotland Points: 10235 |
Post Options
Thanks(0)
Quote Reply
Posted: 01 Jun 2011 at 5:07pm |
|
|
I managed to plug in the printer cable into the card and the light came on so I'm assuming it's working which is good. Just need to wait for my other parts to arrive from Spain, hopefully they will come tomorrow. I know that I can connect up to 70 inputs and 45 outputs, but can I have them on different panels? ie some on the overhead and some on the pedestal?
|
||
|
||
|
TomA320
Chief Pilot
Joined: 02 Apr 2008 Location: Perth Scotland Points: 10235 |
Post Options
Thanks(0)
Quote Reply
Posted: 02 Jun 2011 at 9:57am |
|
|
Hopefully by Saturday night the MIP will be mounted...
|
||
|
||
|
Slopey
Moderator in Command

AirHauler Developer Joined: 11 Jun 2008 Points: 8280 |
Post Options
Thanks(0)
Quote Reply
Posted: 02 Jun 2011 at 10:51am |
|
Of course it won't - it's just a cable. You can't damage a cable usually unless you're going to plug something rated for low voltage into a high voltage source.
Of course you can, provided you wire it up like that. Given your comment about the USB cable, I'd suggest you pop down to Maplin and get some of the "build your own" electronics kits to get comfortable building stuff. You should also get a prototype breadboard like these and unless you can solder, some DB-25 breakout boards like these (but I don't have a UK link - RS might do them). So you plug your interface card into the PC with USB, then you use male to male DB-25 cables to plug the interface card into the breakout units, then you can simply connect pairs of wires from the screw terminals to your switches (although you'll likely need to solder them at the switch end). For anything more complicated, or just to test it on the desk, use the breadboard - the way those work (if you're not already aware), is that the holes connect to tracks underneath, so everything on the same "track" or "line" of the board is connected, so you can test circuits without having to solder them up first. For just switches you'll be ok with just using the DB-25 breakout terminals, but if you're doing analogue instruments, or need power for some of these (lighting circuits etc), you should test it on the bench first before soldering them up. (and if you're using power, even if it's only +/- 5V, be very careful with it as 5v up the wrong input can release the Magic Smoke from your interface card - and nothing works without the magic smoke inside it!). |
||
|
AirHauler Developer
For AH2 queries - PLEASE USE THE EA Forums as the first port of call. |
||
|
||
|
Slopey
Moderator in Command
AirHauler Developer Joined: 11 Jun 2008 Points: 8280 |
Post Options
Thanks(0)
Quote Reply
Posted: 02 Jun 2011 at 11:23am |
|
|
Also, to make routing the wiring simpler, it might be an idea to use multi-core cable - something like 8-Core FCC68 Data Cable would do it. Then you only have one cable to run for 4 sets of switches and you can strip off the outer insulation and break the wires out to the switches in the panels. Cable tie two or three together along the length, and you get 24 cores, or 12 switches in a single run. And you can usually get it as ribbon cable if you're short on space/want to keep it flat against a bulkhead.
|
||
|
AirHauler Developer
For AH2 queries - PLEASE USE THE EA Forums as the first port of call. |
||
|
||
|
Slopey
Moderator in Command
AirHauler Developer Joined: 11 Jun 2008 Points: 8280 |
Post Options
Thanks(0)
Quote Reply
Posted: 02 Jun 2011 at 11:55am |
|
|
Oh, and the best places to get all this stuff are:
Maplin www.maplin.co.uk - and on the high street, but a bit pricy (but then you get it immeadiately), but they do have staff you can ask if you're stuck RS Components: http://uk.rs-online.com/ and my personal favourite as they do *loads* of stuff CPC Farnell: http://cpc.farnell.com/ Enjoy! |
||
|
AirHauler Developer
For AH2 queries - PLEASE USE THE EA Forums as the first port of call. |
||
|
||
|
Magic Man
Chief Pilot

Joined: 02 Apr 2008 Location: South Wales Points: 5336 |
Post Options
Thanks(0)
Quote Reply
Posted: 02 Jun 2011 at 12:42pm |
|
|
Good advice. Practice your soldering technique as well, nothing like trying to track down a fault to a bad solder joint...
|
||
|
||
|
Slopey
Moderator in Command
AirHauler Developer Joined: 11 Jun 2008 Points: 8280 |
Post Options
Thanks(0)
Quote Reply
Posted: 02 Jun 2011 at 12:46pm |
|
And buy a cheap multi-meter with a buzzer which sounds when the two probes are connected - invaluable for testing. (You also get clip on testing "hooks" so you can leave one probe connected without physically holding it). |
||
|
AirHauler Developer
For AH2 queries - PLEASE USE THE EA Forums as the first port of call. |
||
|
||
|
TomA320
Chief Pilot
Joined: 02 Apr 2008 Location: Perth Scotland Points: 10235 |
Post Options
Thanks(0)
Quote Reply
Posted: 02 Jun 2011 at 4:21pm |
|
|
Thanks Slopey and Magic for all the info.
So here is what I've got already:
master card
expansion card
x2 encoders
Soldering equip.
Needed:
Rotary switches
Ribbon cable
Multi-meter with a buzzer.
Anything else I need?
|
||
|
||
|
Magic Man
Chief Pilot
Joined: 02 Apr 2008 Location: South Wales Points: 5336 |
Post Options
Thanks(0)
Quote Reply
Posted: 02 Jun 2011 at 6:56pm |
|
|
Do the cards support the rotary encoders directly or do they need support electronics, e.g diodes, resistors etc.?
Some desolder braid may come in handy if needed... |
||
|
||
|
TomA320
Chief Pilot
Joined: 02 Apr 2008 Location: Perth Scotland Points: 10235 |
Post Options
Thanks(0)
Quote Reply
Posted: 02 Jun 2011 at 8:06pm |
|
|
I'm pretty sure the rotary encoders support the cards directly. I need to go and pick up the master card tomorrow so I'll see then.
|
||
|
||
|
Heinz57
P1 

Joined: 03 Oct 2009 Location: Ilkeston Points: 740 |
Post Options
Thanks(0)
Quote Reply
Posted: 02 Jun 2011 at 11:11pm |
|
|
Now you're getting all the control and circuit bits and peices gatherd up it's going to realy start to come together!
Best of luck with getting it all connected up right. I'm looking forward to seeing the result! |
||
|
Jazz that's not a drawer its a trash compactor. And when Uncle Phil sees this it'll be a Jazz Compactor
|
||
|
||
|
TomA320
Chief Pilot
Joined: 02 Apr 2008 Location: Perth Scotland Points: 10235 |
Post Options
Thanks(0)
Quote Reply
Posted: 04 Jun 2011 at 11:17am |
|
|
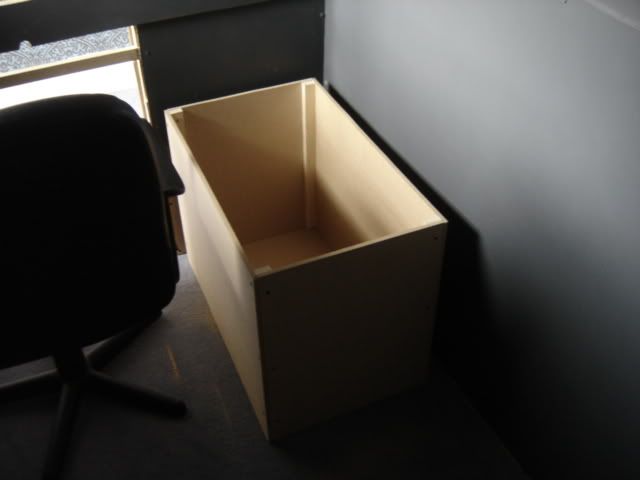
MIP is now built and mounted. I still need to build the glairsheild but that shouldn't take too long. I've just started the pedestal which should be finished tonight.
|
||
|
||
|
TomA320
Chief Pilot
Joined: 02 Apr 2008 Location: Perth Scotland Points: 10235 |
Post Options
Thanks(0)
Quote Reply
Posted: 04 Jun 2011 at 2:39pm |
|
|
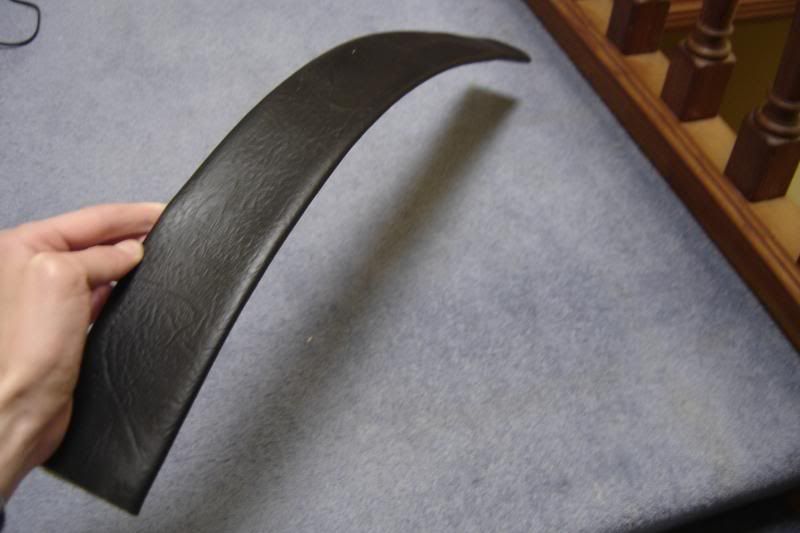
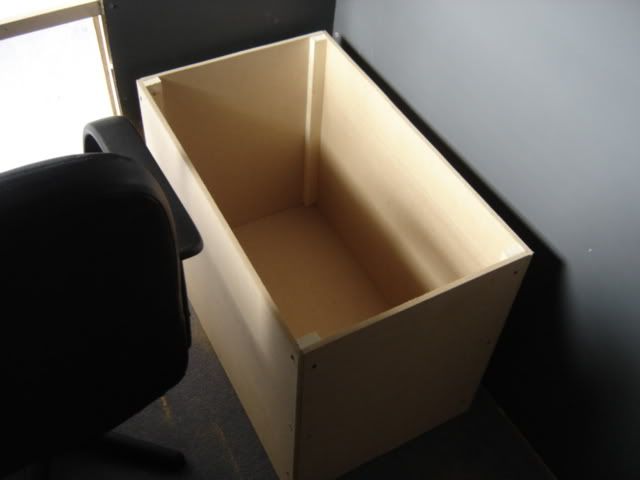
Here is part of the glairsheild I've made, cost literally pennies to make but looks really effective:
 |
||
|
||
|
TomA320
Chief Pilot
Joined: 02 Apr 2008 Location: Perth Scotland Points: 10235 |
Post Options
Thanks(0)
Quote Reply
Posted: 04 Jun 2011 at 6:48pm |
|
|
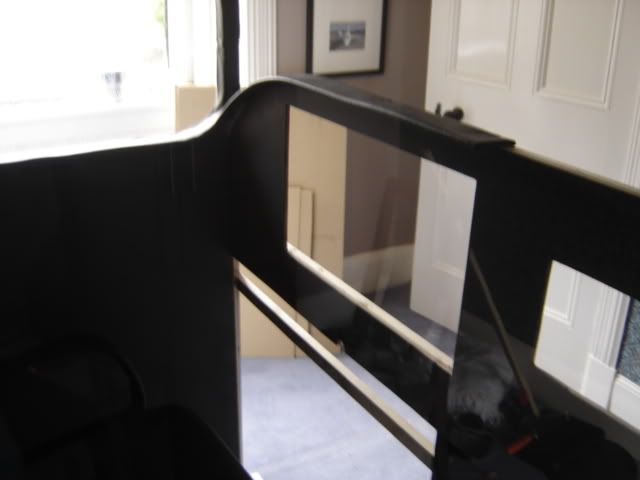
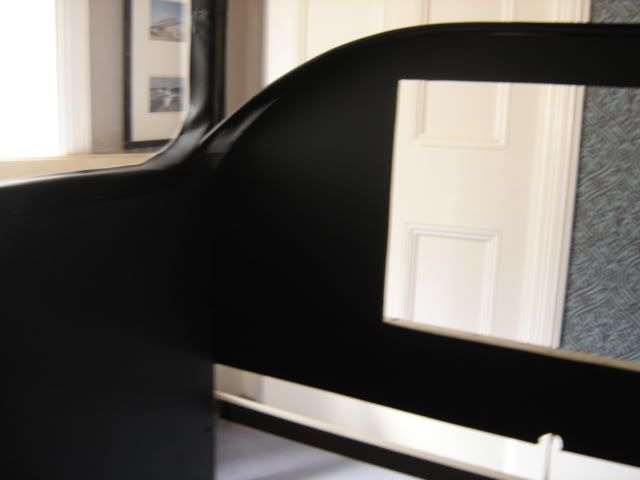
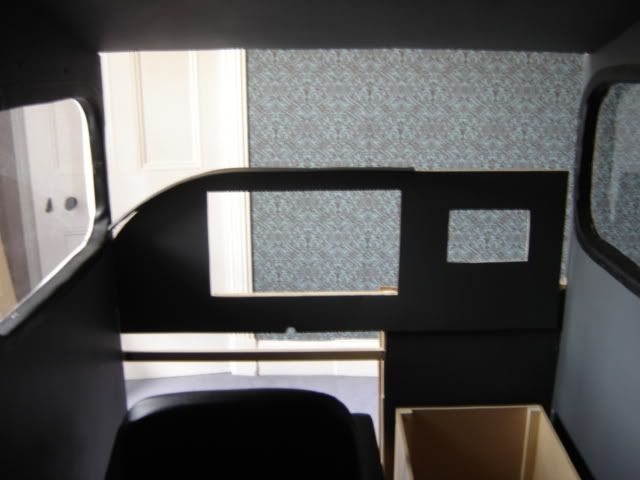
Here are a few pictures of todays work. As you can see, the glairsheild is partly on and the pedestal has been started:
        |
||
|
||
|
twright
Chief Pilot
Joined: 02 Apr 2008 Location: London UK Points: 3303 |
Post Options
Thanks(0)
Quote Reply
Posted: 04 Jun 2011 at 7:17pm |
|
|
Looks great. The panel looks very high relative to that chair. Can you see over it?
|
||
|
Kind regards,
Tom |
||
|
||
|
TomA320
Chief Pilot
Joined: 02 Apr 2008 Location: Perth Scotland Points: 10235 |
Post Options
Thanks(0)
Quote Reply
Posted: 04 Jun 2011 at 7:20pm |
|
|
Thanks Tom, yes I think it does look really high in those pics, possible the angle it was taken at, but when sitting down I can see right over the top of it.
|
||
|
||
|
TomA320
Chief Pilot
Joined: 02 Apr 2008 Location: Perth Scotland Points: 10235 |
Post Options
Thanks(0)
Quote Reply
Posted: 05 Jun 2011 at 11:30am |
|
|
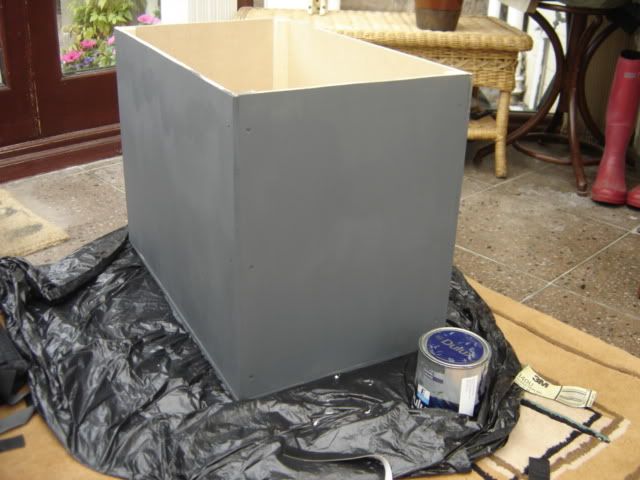
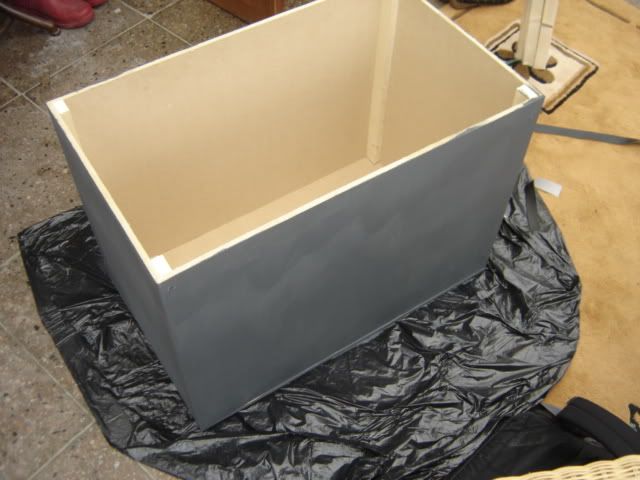
Pedestal has now had it's first coat of RAL, next I need to patch up the roof then put the material over. More pics to come tonight.
|
||
|
||
|
Slopey
Moderator in Command
AirHauler Developer Joined: 11 Jun 2008 Points: 8280 |
Post Options
Thanks(0)
Quote Reply
Posted: 05 Jun 2011 at 12:37pm |
|
|
This might be useful, they do King Air panels at a reasonable price and they also have a PDF of dimensions. Might be handy for an announciator panel and switch panels. http://www.ruscool.co.nz/ka_2.html
|
||
|
AirHauler Developer
For AH2 queries - PLEASE USE THE EA Forums as the first port of call. |
||
|
||
|
TomA320
Chief Pilot
Joined: 02 Apr 2008 Location: Perth Scotland Points: 10235 |
Post Options
Thanks(0)
Quote Reply
Posted: 05 Jun 2011 at 1:35pm |
|
|
Just what I'm after Slopey! When I get a bit more money, I'll order a few of the panels provided postage isn't too high. Some really nice panels that would look good on the overhead of my sim! On the website you posted, Slopey there are two options for the panels: "Panel with all parts as shown in photo." or "unpopulated" I'm assuming the unpopulated option requires me to use my opencockpits cards to get them working and the other option is plug and play?
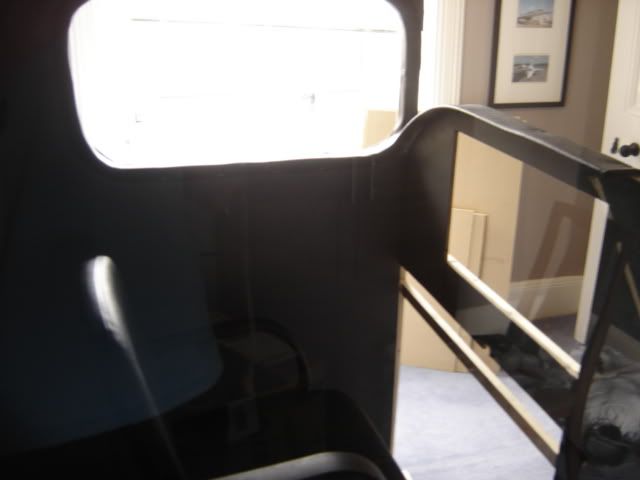
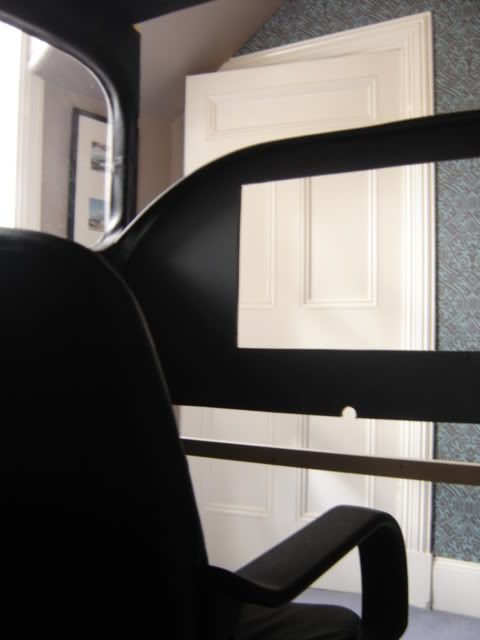
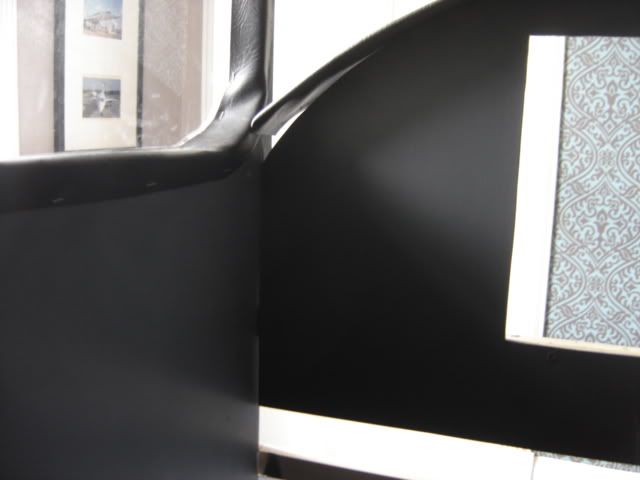
Here is a few pics of todays work:
As you can see I'm in the process of putting the material on the overhead but ran out of staples so have to nip out to get a new pack!
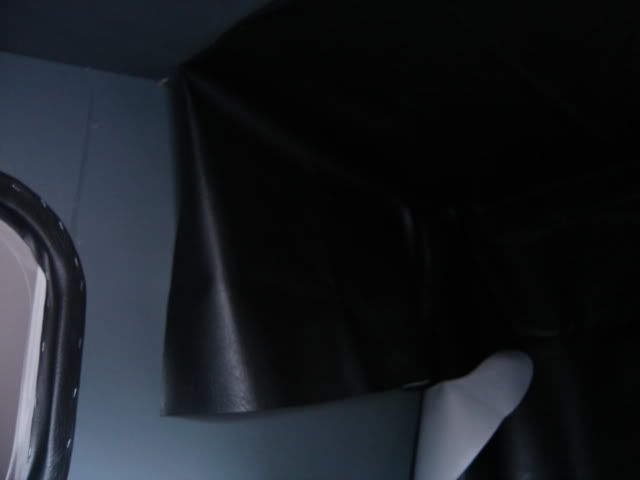    Sorry for the dark light!
|
||
|
||
|
Post Reply
|
Page <1 89101112 18> |
 Tweet
Tweet
|
| Forum Jump | Forum Permissions You cannot post new topics in this forum You cannot reply to topics in this forum You cannot delete your posts in this forum You cannot edit your posts in this forum You cannot create polls in this forum You cannot vote in polls in this forum |


 Topic Options
 I'm going to try plugging it into the expansion card, can you just confirm it won't damage my lead for my yoke?